
To download and install the Swiipe plugin, you must have a Swiipe account for your webshop.
If you do not have a Swiipe account yet, see How to create a Swiipe account
1. Log in to your Swiipe account
Login to your Swiipe account: https://portal.swiipe.com/login
(If you do not yet have a Swiipe account, see How to create a Swiipe account)
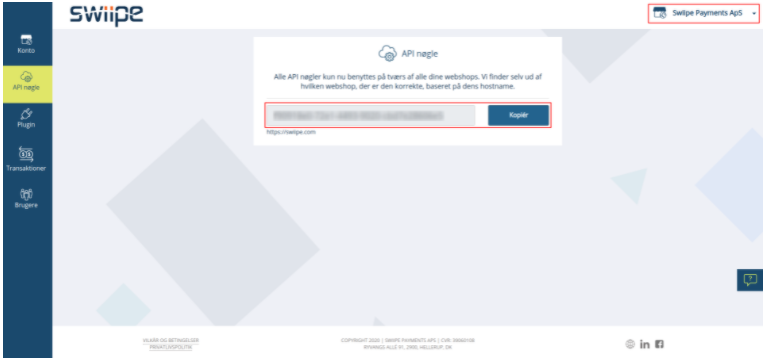
At the top right corner select the e-commerce account for which you wish to activate Apple Pay (e.g. SwiipeApS):
3. Download Swiipe plugin
Go to "Plugin" page, find "Checkout", and click "Download". Save the .zip file where you can easily find it again (e.g. on your desktop).
Click on "API key" in the menu in which you will find your API key. You will need this later.
4. Install the Swiipe plugin to your Wordpress panel
Open a new window in your browser and go to your webshop's admin panel (if you are in
doubt where to find it, type /wp-admin at the end of your webshop's URL)
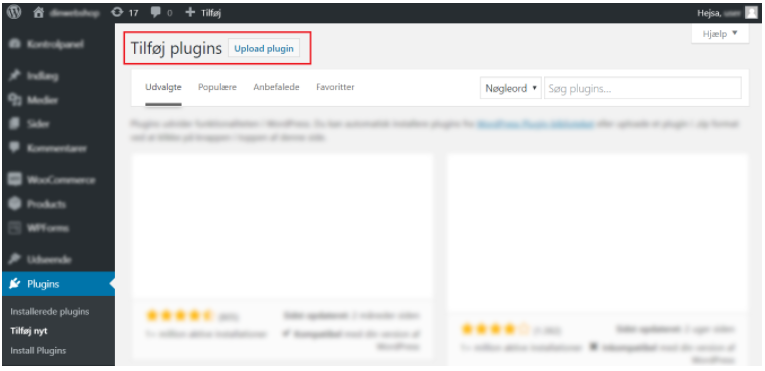
Click on “plugin” in the menu and then “add new”
Afterwards, click on "upload plugin" and select the file with the Swiipe checkout plugin which you downloaded in step 3.
Click "Install plugin" (just click once and wait for it to start installing. Clicking repeatedly may cause errors during the upload process).
5. Activate the Swiipe plugin on your webshop
Once the plugin is installed, click on "enable plugin".
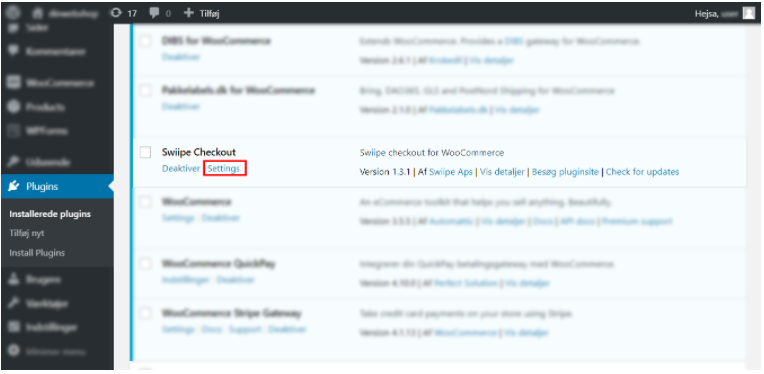
The plugin is now installed and is available at the bottom of the plugin list under “Plugins”.
Navigate to the Swiipe Checkout plugin and click on “Settings”.
You now need the API key which you found in the Swiipe portal. Copy the API key and paste it, afterwards click “Enable Swiipe”.
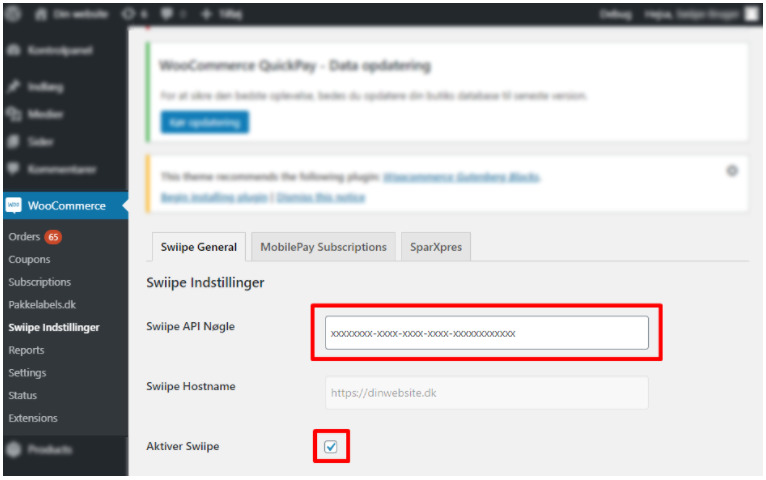
Click "Save Changes" at the bottom of the page.
The Swiipe plugin is now installed and is ready on your webshop.
Kommentarer
0 kommentarer
Log ind for at kommentere.